
Nose studs, also known as labret studs, are a popular type of nose piercing jewelry. Unlike a nose hoop or ring, which has an open circular shape, a nose stud has a post with a fixed decorative end. Labret studs can come in different shapes and sizes, from petite gem studs to dramatic spike ends. While nose hoops slide into an existing piercing, inserting a labret nose stud takes a bit more finesse. With a little practice and by following some simple steps, you’ll be able to insert your nose stud smoothly.
In this comprehensive guide, you’ll learn everything about labret nose studs, from how to insert them properly to taking care of your new piercing after. With some patience and these tips, your stylish new nose stud will be in place in no time.
What is a Labret Nose Stud?
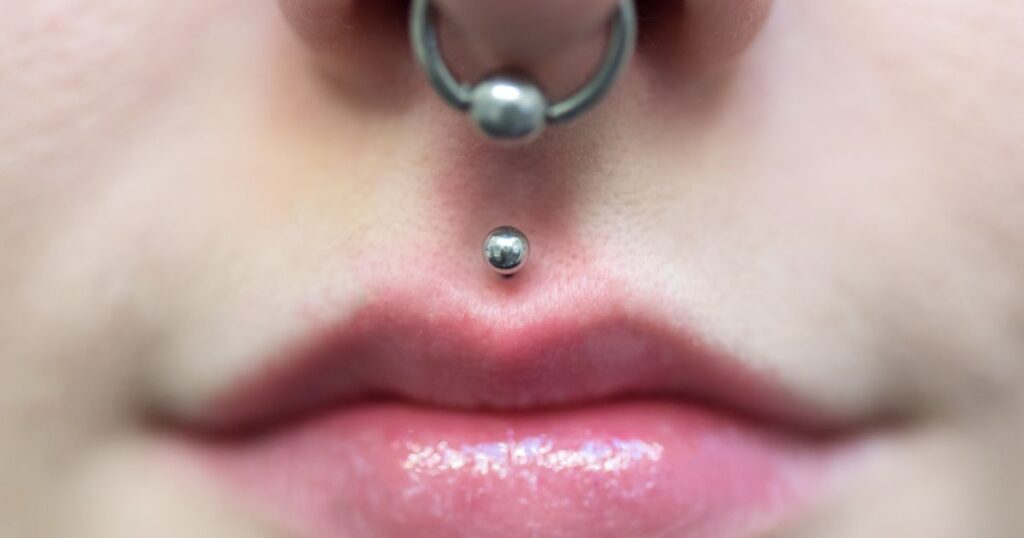
A labret nose stud is a type of nose piercing jewelry that has a straight post with a decorative fixed end or charm. Unlike nose hoops or rings, the labret does not have an open circular shape. The post of the labret stud is inserted through the pierced nostril and held in place by a disc or jewel that is secured on the inside of the nose. Labret studs are sometimes called nose studs or nostril studs. They should not be confused with lip labrets, which go through lip piercings.
Nose studs can be made out of different materials, including surgical stainless steel, titanium, 14k or 18k gold, and platinum. Certain plastic studs, like bioflex or acrylic, are not recommended for new piercings. High-quality metals like gold, platinum, and titanium create less friction and are hypoallergenic, making them ideal for sensitive piercings. The decorative end of the stud can be a simple round ball or more elaborate shapes like hearts, gems, spikes, or tribal shapes.
Before You Start
Before you begin inserting your new nose stud, make sure you have fully healed from the initial nose piercing. It takes anywhere from 6 to 9 months for a nostril piercing to be considered healed. Trying to change jewelry or insert a stud too early can irritate the unhealed piercing channel and introduce bacteria into the open wound.
Once your piercing is mature, you’ll need to have a few supplies on hand:
- Nose stud starter kit or individual stud jewelry
- Mirror
- Antiseptic saline wound wash spray
- Paper towels or gauze
- Tissues
- well-lit room
- Hand soap and water to wash hands thoroughly
Make sure the nose stud you are inserting is made from implant-grade materials. Disinfect the piercing post and end cap of the stud by soaking them in antiseptic wash. Wash your hands thoroughly before handling the clean stud. Avoid touching the stud post as much as possible once disinfected. Have a mirror set up so you can see clearly inside your nostril. A well-lit room will also help the process go smoothly. Tissues and paper towels or gauze should be ready to gently wipe away any discharge or bleeding at the piercing site. With these preparations done, you can move on to inserting the labret nose stud step-by-step.
Step-by-Step Guide to Put in Labret Nose Stud

Follow this step-by-step guide to insert the labret nose stud:
1: Wash your hands and clean the piercing
2: Open the nose stud packaging
3: Position the mirror
4: Insert the nose stud post
5: Attach the back disc
6: Clean the area
7: Leave it alone
Step 1: Wash your hands and clean the piercing
Before handling the nose stud, wash your hands thoroughly with antibacterial soap and warm water. Scrub your hands for at least 20 seconds, rinsing away all the soap. This removes dirt, oils, and microbes that could infect the piercing area.
Next, clean the outside and inside of the nose piercing with a saline wound wash spray. Spritz the saline solution directly onto the piercing hole inside and outside the nose. Let it sit for a minute before gently wiping away softened discharge or crusties around the site with gauze or paper towels.
Step 2: Open the nose stud packaging
Carefully open the packaging for the new nose stud. Use clean hands or tweezers to remove the stud parts. Separate the nose post and the end cap back disc. Disinfect both pieces by soaking them in antiseptic wash like saline solution. Follow the product instructions for proper soaking times. Rinse and dry the stud pieces with clean paper towels. Avoid touching the disinfected stud with your hands.
Step 3: Position the mirror
Sit in a chair with good lighting. Get the handheld mirror situated at an angle where you can see clearly up into your nostril. Tilt your head as needed so you have a direct line of sight up into your nose piercing. Have the mirror positioned in one hand while you insert the jewelry with the other. A 10x magnification mirror can provide even better close-up visibility.
Step 4: Insert the nose stud post
With clean hands, grab the nose post. Hold it at the very end between your thumb and forefinger. Gently insert the post through the front of the nostril piercing hole. Slowly insert until you feel it come through the back nostril wall lining. Stop pushing once the post is sticking out the back of the nose a bit. There should be space for the back disc to be attached. Be very gentle and stop if you feel strong resistance or pain.
Step 5: Attach the back disc
With the post end visible through the back of the nostril, use your free hand to grab the end disc. It can be a flat plastic back or decorative charm end. Carefully attach this onto the exposed end of the stud post, pressing it onto the post so it sits flush against the inside of the nostril lining. The back disc should sit comfortably inside the nose without protruding.
Step 6: Clean the area
Check that both ends of the nose stud are securely in place. Gently clean the outside of the nose piercing again with saline solution, wiping away any blood or discharge. Do not try to rotate or move the new stud. Keep it still while the tissue adjusts to the jewelry.
Step 7: Leave it alone
Avoid touching, spinning, or moving the nose stud for at least 24 hours after inserting it. Try to minimally clean or disturb the new jewelry. Allow time for the tissue to stabilize around the stud post. Moving it too soon can unseat the angle of the piercing. After 24 hours, you can gently clean the stud and continue piercing aftercare.
Post-Piercing Care
It’s crucial to properly care for your new nose piercing in the days and weeks following. Here are some aftercare tips:
- Clean the piercing site 1-2 times daily by spraying sterile saline solution and wiping away softened discharge with clean gauze or paper towels. Avoid over-cleaning.
- Wash hands before touching around the piercing.
- Let warm water run over the piercing in the shower to help loosen any dried discharge. Avoid submerging in bath water.
- Dry the piercing area thoroughly after cleaning and showering. Moisture encourages bacterial growth.
- Avoid touching, twisting, pulling on the new stud.
- Don’t try changing to a hoop until the piercing is fully healed.
- Avoid using makeup, lotions, or balms on the piercing.
- Pat gently with a paper towel to absorb excess moist mucus around the site.
- Sleep on the opposite side during the initial healing phase.
Proper cleaning and not overhandling the stud will promote successful healing. Check for any signs of infection and contact your piercer if concerned. With proper care, your nostril piercing should adjust well to the new jewelry.
Signs of Infection

While infections are not super common with nose piercings, they can occur if aftercare instructions aren’t followed. Signs of an infected nose piercing include:
- Unusual swelling, warmth, or redness around the piercing site
- Green, yellow, or bad-smelling discharge
- Hot to the touch feeling around the piercing
- Fever
- Significant pain, soreness, or tenderness around the stud
- A visible abscess or boil at the piercing hole
If your new nose stud becomes infected, don’t remove the jewelry – see your piercer or doctor. Leaving the stud in allows the infection to drain out. Removing it can trap the infection inside. Seek medical care if infection symptoms persist or get worse. With proper aftercare and observance of warning signs, you can keep your new labret nose stud free of infection.
FAQ’s
How do you put a labret stud back in your nose?
To reinsert a labret nose stud, sterilize the jewelry, wash your hands, line the post up with the piercing hole and gently guide it through. Go slowly and avoid using force.
How do you put in a labret stud?
Line up the labret post with the piercing, hold the jewelry by the decorative end, and slowly push the post through the front of the hole until the back rests inside comfortably. Keep it straight and don’t force it.
Can you put a labret in a nose piercing?
Yes, labret studs are made specifically for nostril piercings. Ensure you have the right length and gauge for your anatomy and piercing.
How do you put a nose stud in easily?
Use water or saline to lubricate the post, keep the jewelry straight, locate the inside hole, and gently guide the post through without forcing it. Proper alignment and slow, steady pressure will allow it to pass through smoothly.
Why won’t my stud go in my nose?
If your stud won’t go in your nose, possible reasons are dried discharge or crusties blocking the hole, incorrect length or gauge, inadequate lubrication, improper angle, or a partially healed piercing. Never force it – see your piercer for help.
Why is it so hard to get my nose stud in?
Difficulty inserting a nose stud can be due to improper jewelry sizing, poor angle/alignment, forcing it, lack of lubrication, or natural swelling during healing. Patience, the right technique and jewelry will allow it to glide in easily. See a professional if you are struggling.
Conclusion
Inserting a new labret nose stud takes patience and care, but following these step-by-step instructions sets you up for success. Make sure to have the necessary supplies ready and take it slowly when inserting the post. Proper placement of both ends ensures the stud will stay put. With diligent aftercare over the first weeks, you’ll keep your stylish new nose jewelry healthy and happy. So go ahead and rock that new gem, spike, or stud in your nose piercing with confidence!